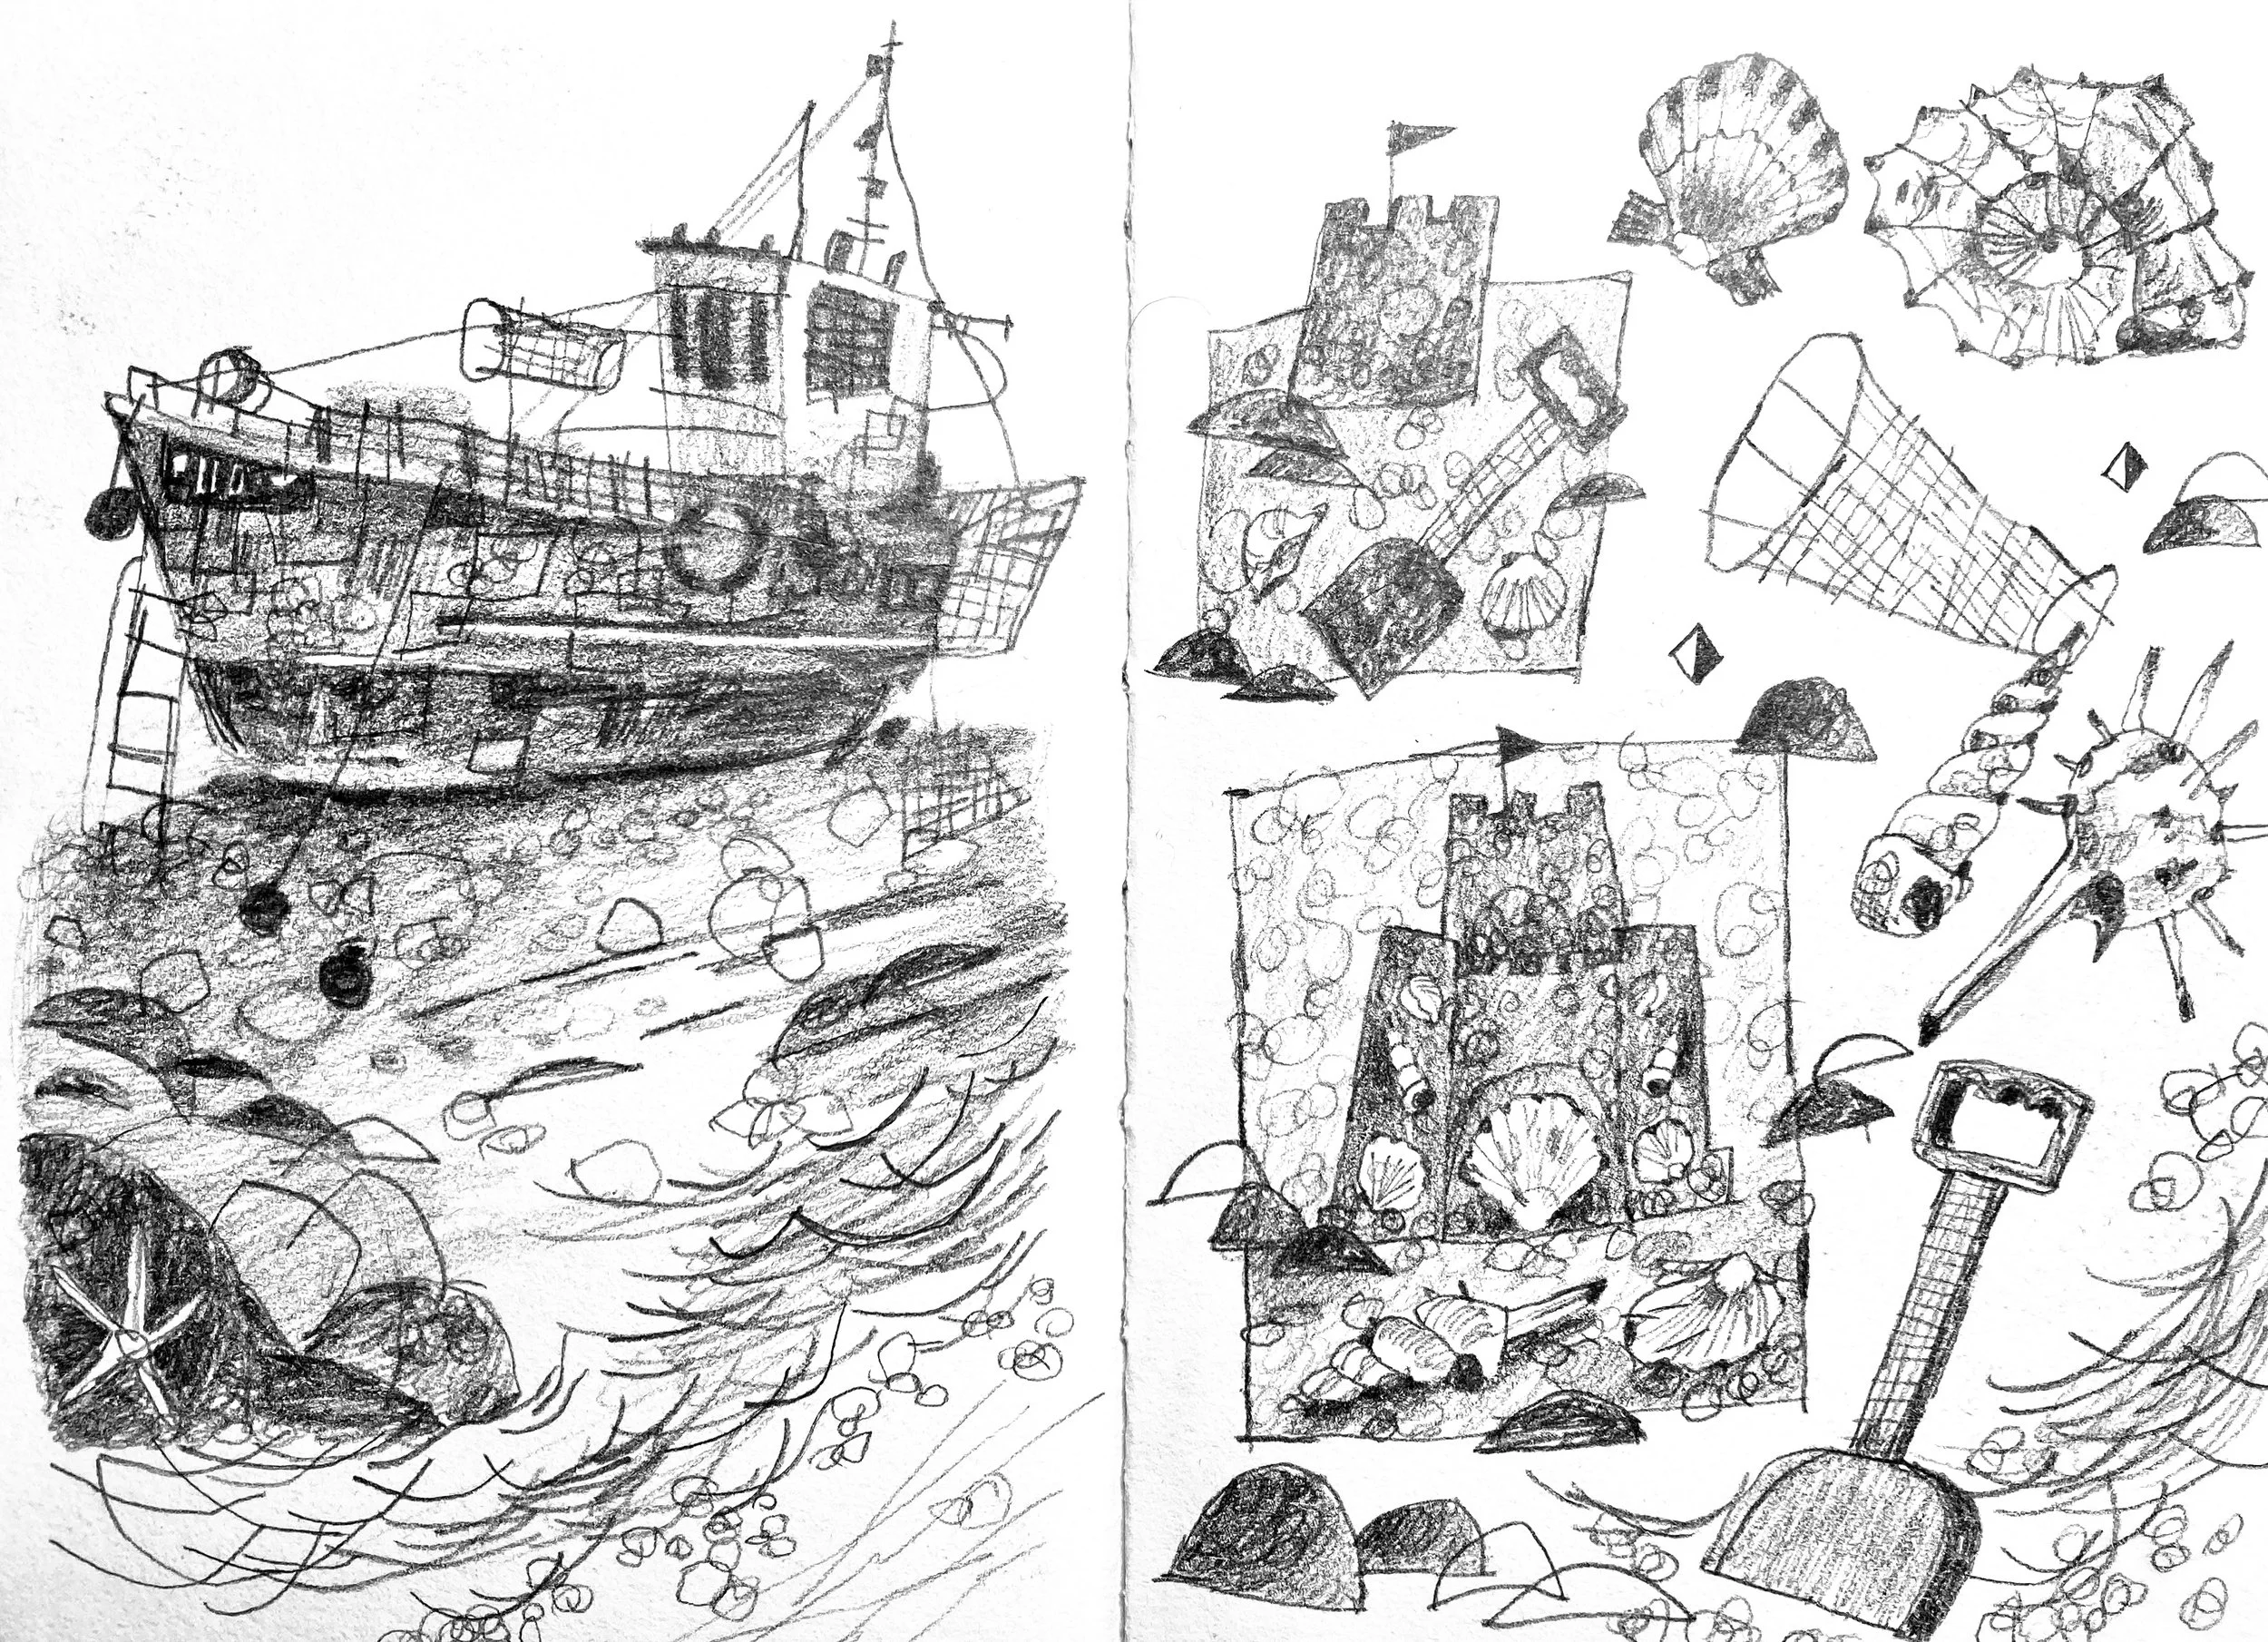
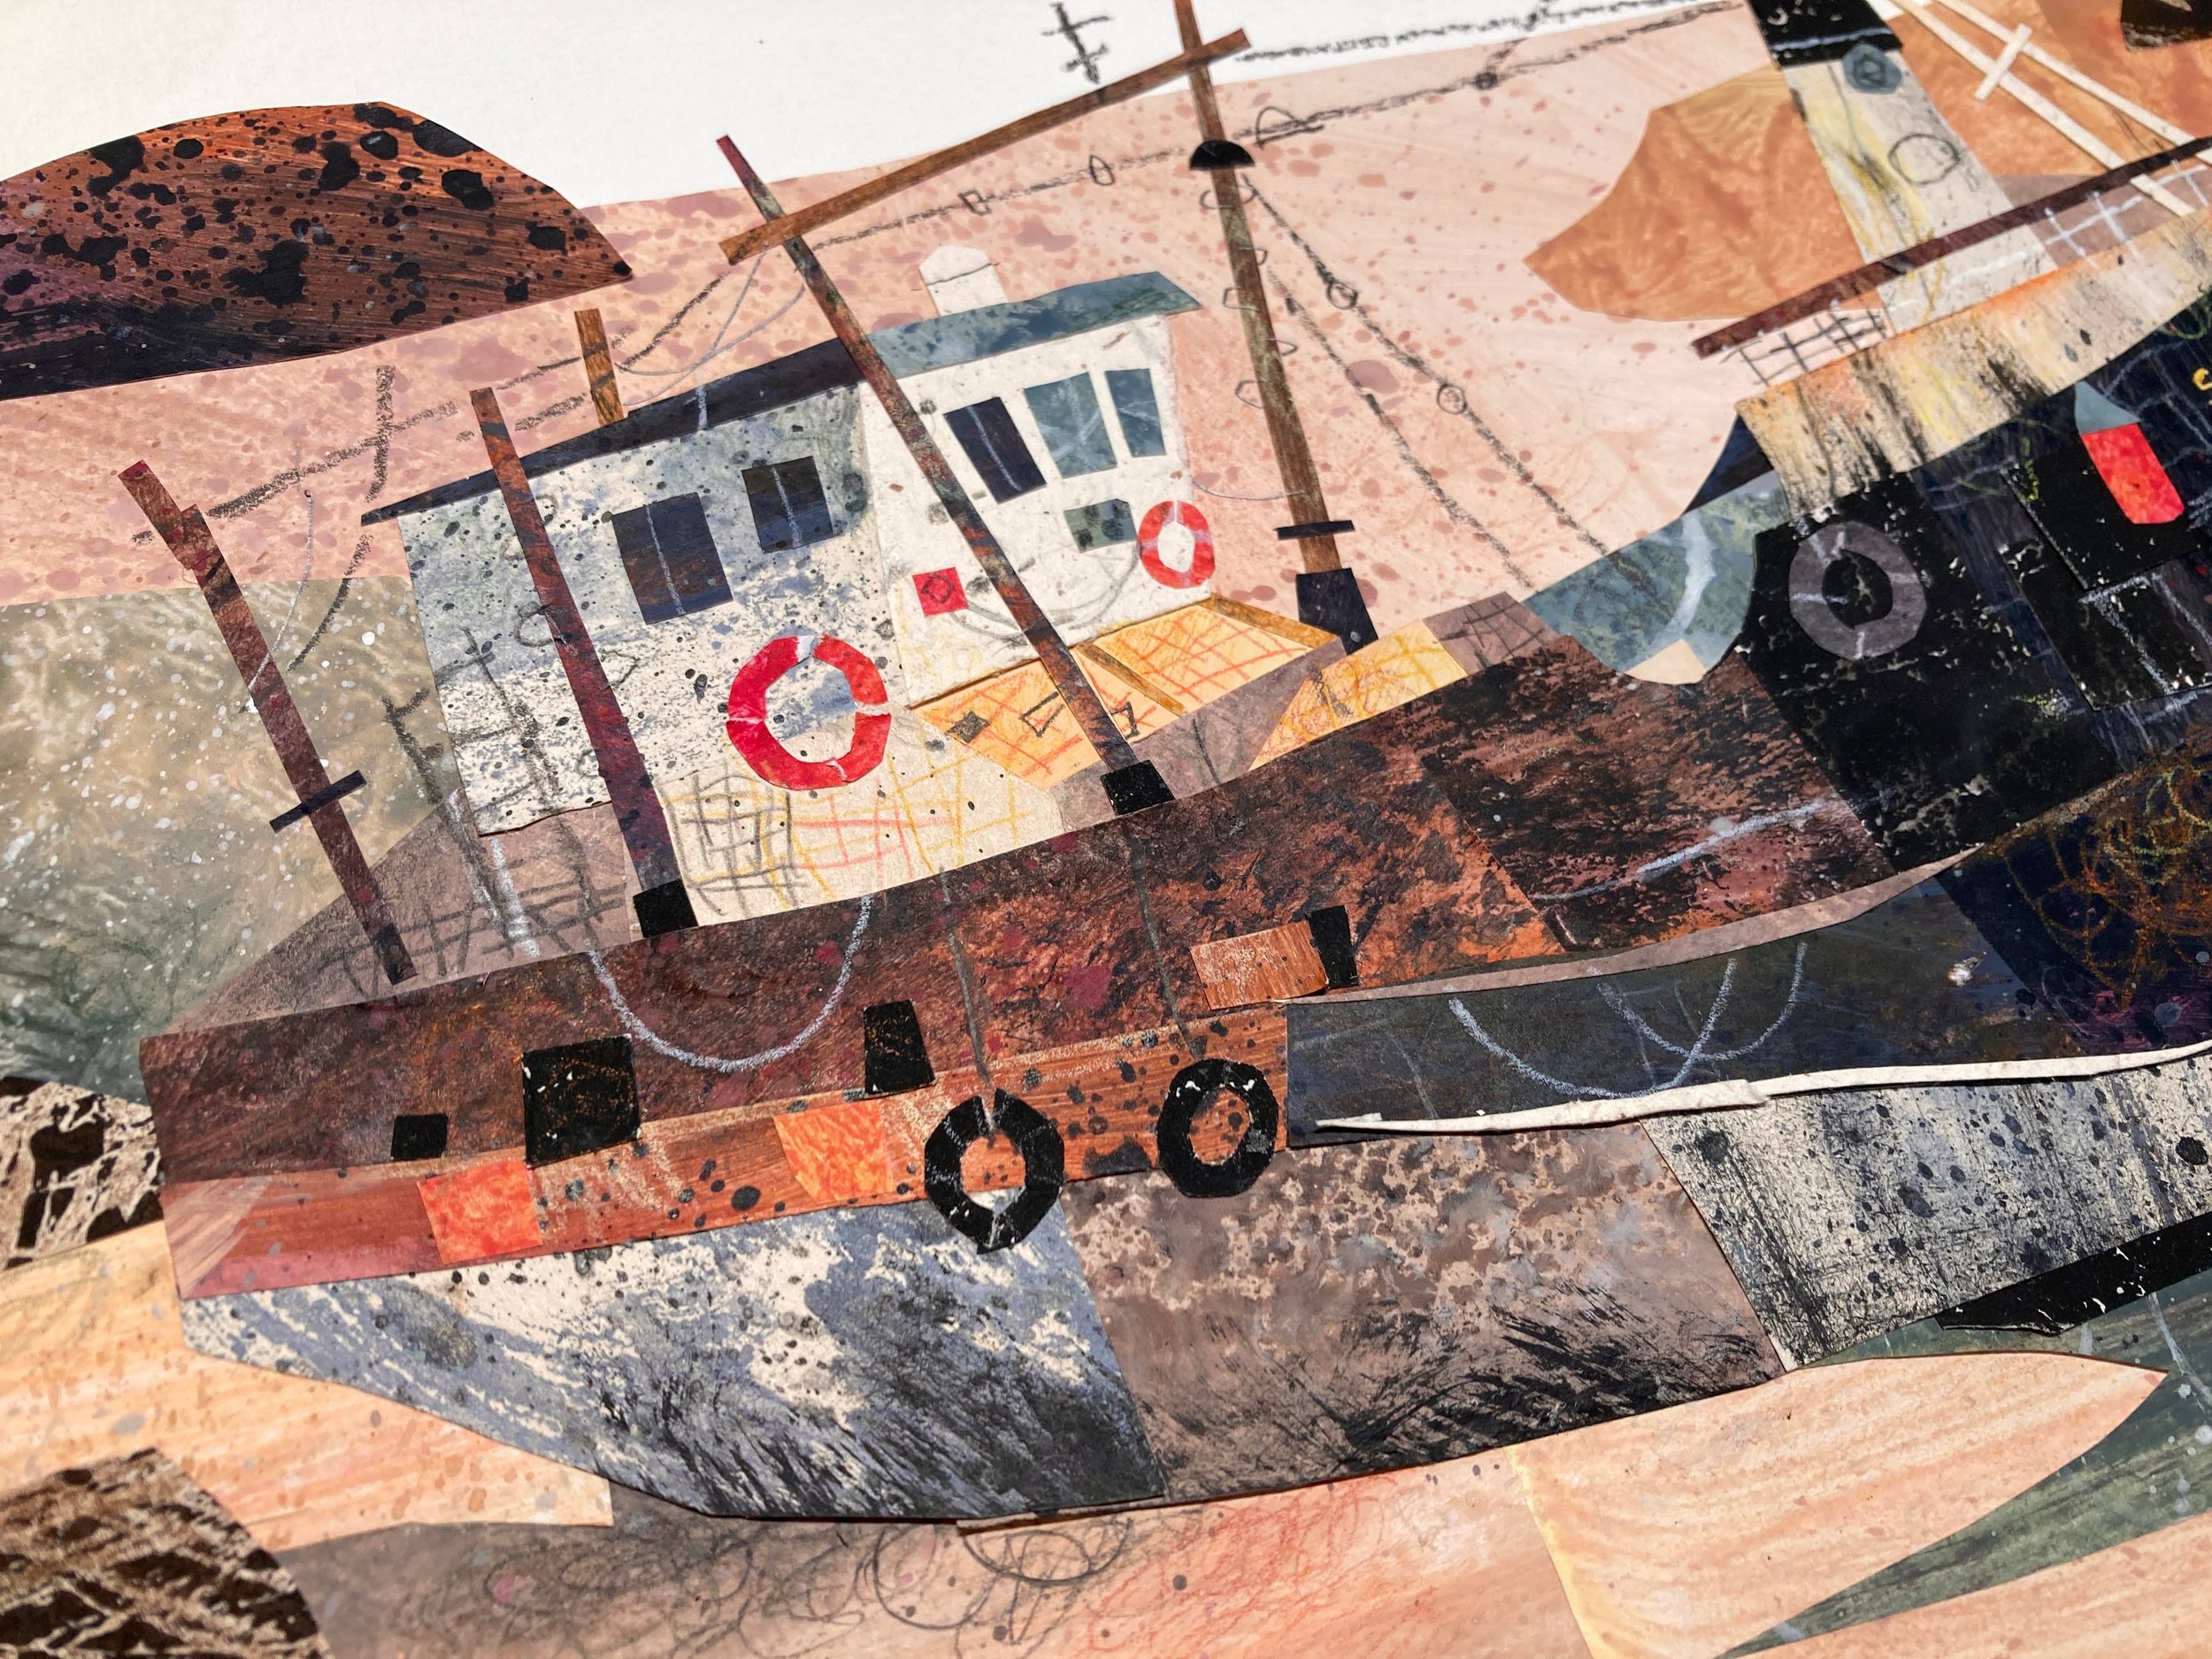
Ahhh here it is, the cherry on of my papery cupcake. The collage of all collages to complete my shop update and add to my collection of lovely beach themed prints. For those who have no idea what I’m waffling on about, I made this collage with quite the weight on my shoulders. This needed to turn out good so I could turn it in to a print for my fast approaching shop update, so the pressure was on with this one. As per usual my ideas start from humble beginnings, a few simple sketches. I’ve been wanting to collage a big detailed boat for a while now, having only ever collaged very small simplified ones in the past like the ones below.
After a few attempts I drew a boat I was very pleased with and I instantly knew it would make for a lovely collage. There are somethings which are really suited to being recreated in cut paper and boats are one of them! So many rusty textures and little details to sink your teeth in to.
With a successful sketching session under my belt, a mood board consisting of two pictures and a head full of ideas, I was ready to move on to the next stage - painting paper. For this I was determined to get creative with my mark making to best mimic the worn aged look of the boats. Layering up my paints and really taking my time with what I was doing. I’ve often said this stage in the process should be quick, you just turn your brain off and splatter paint around, but recently I’ve been taking a much more considered approach. Don’t get me wrong, I’m still very loose with how I work, but I’m trying to be more thoughtful with how I’m making my textures, being more specific and picky with the purpose for each piece of paper, like the sheet below which I wanted to look like the sea foaming up on the shore.
Painting a loose gradient from light to dark and layering splatters on top.
Going in with a sponge to add a foam like texture with the darker blue.
Using the lid of a glue stick to stamp white circles in to the blue, to mimic the sea hitting the beach
With my textures finished, I moved on to making the boat. I started by outlining my sketch of the boat on the tracing paper to give myself a guide to work to. The majority of the time I cut out shapes just by eye, but when I need the paper to be a really specific shape, I find this technique saves me a lot of trail and error. Because tracing paper is see through, I can place the shape on top of all my sheets to test out what textures would look best before committing to cutting them out. Quite the helpful little trick!
Adding on details and gradually building up the shape of the boat.
After many hours (6 if I remember right) the boat was complete and I was feeling very positive about the direction this collage was headed. To be honest for the first 4 hours of making this piece, I thought it was awful! But as hard as it is, you just have to trust the process and once I began to add the cute little details it starts to look a lot better very quickly. You would not believe the power of a little red ring. It took the collage from questionable to ‘this has potential’ with just one piece of paper.
After I was happy with my boat, I moved on to the beach which came quite easily - a miracle considering I was making it up entirely from my head. Every now and then with collage, the stars aline (or should I say paper alines) and everything just slots together and looks good without much trial and error which was a relief considering the boat was quite the opposite!
Adding on the finishing touches
And here it is, the finished piece in all its glory! As per usual this piece went through the usual highs and lows of every collage, but I suppose I’m very used to that at this point. It’s not an Emily collage without a bit of struggle sprinkled in there. I always get there in the end though and I couldn’t be more pleased with it - In fact I’d go as far to say its my best collage yet!
Thanks for reading,
Emily :)


